
Prepopulate Office 365 servers for Lync/Skype for Business Client
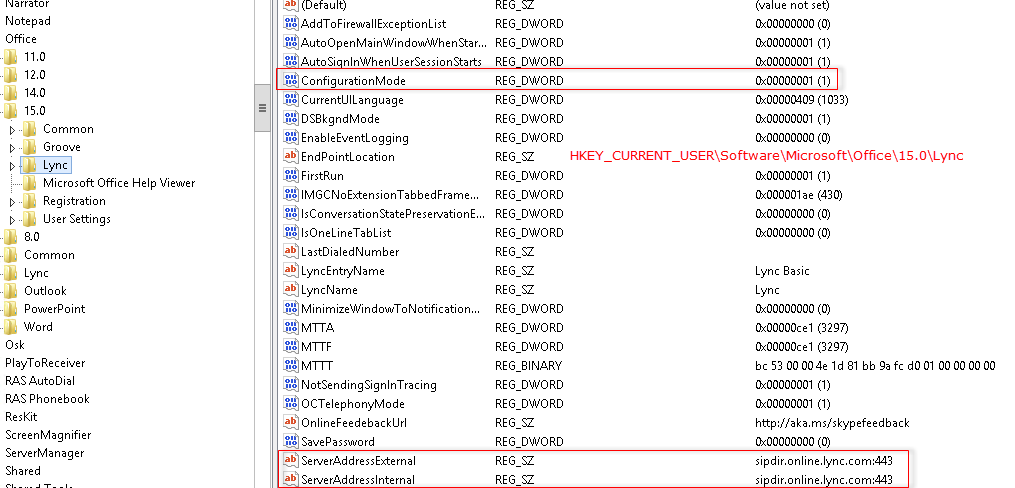
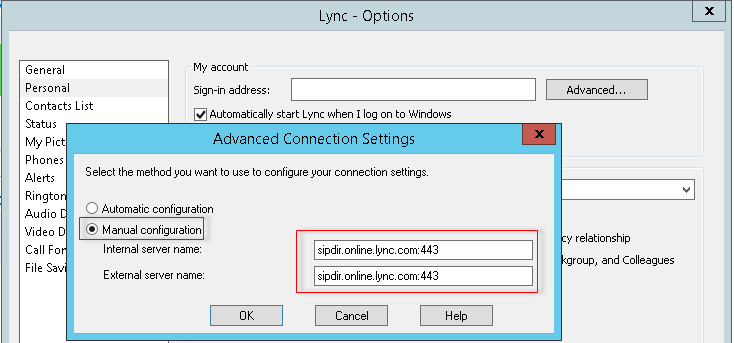
I’m currently working through a Lync cut-over for a customer to Office 365. As they are moving from a single on-premise Lync 2010 server and didn’t wish to go the hybrid route, we are running through a cut-over process for users. Ideally we would like to do this with no interruption to existing users (ie, updating DNS settings for all). As such, would like to manually configure the test users to point directly to Office 365 Lync Online/Skype for Business – preferably with as little hands on as possible. Thankfully, these settings can be configured in the registry. These registry keys to set can be found:
under HKEY_CURRENT_USER\Software\Microsoft\Office\15.0\Lync.
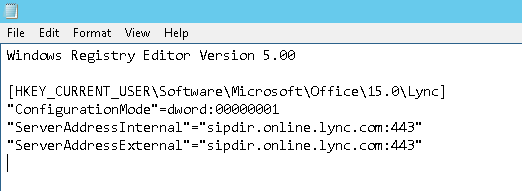
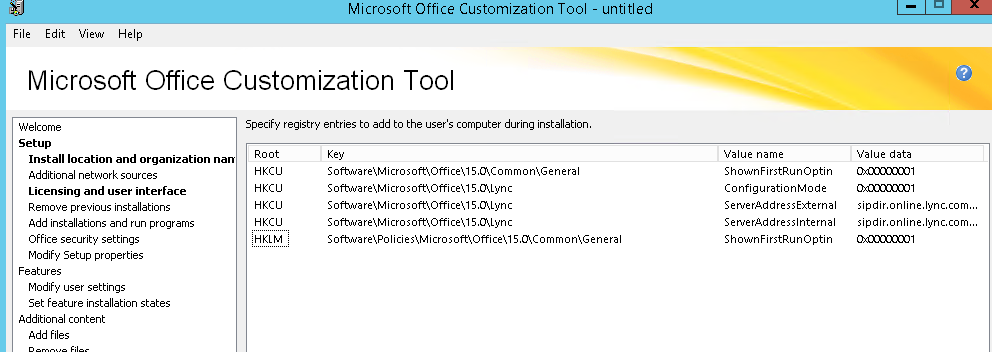
I am packaging these settings into the installer for SCCM deployment but this could easily be adjust using a GPO, script, etc.
Mass import IP Subnets into Fortigate firewall
Recently, while working through an Office 365 Hybrid migration for a customer, we needed to bring the Exchange Online Protection IP address ranges into their firewall for policy changes. Microsoft publishes this list here: https://technet.microsoft.com/en-us/library/dn163583%28v=exchg.150%29.aspx. Unfortunately, I needed them in the following format:
config firewall address
edit ExchangeOnline-23.103.144.0
set subnet 23.103.144.0/22
next
Thankfully, this was made much easier with using Word find/replace with the following syntax:
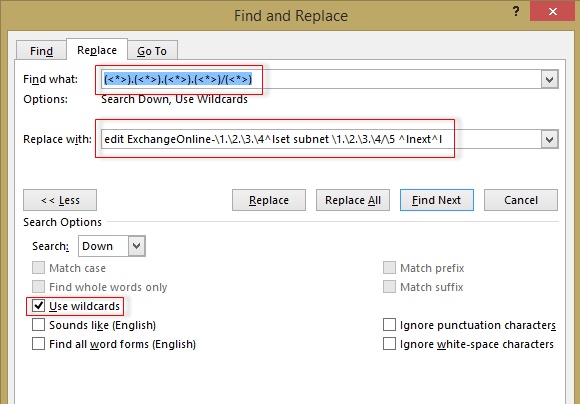
Find: (<*>).(<*>).(<*>).(<*>)/(<*>)
Replace: edit ExchangeOnline-\1.\2.\3.\4^lset subnet \1.\2.\3.\4/\5 ^lnext^l
Turns this:
23.103.132.0/22
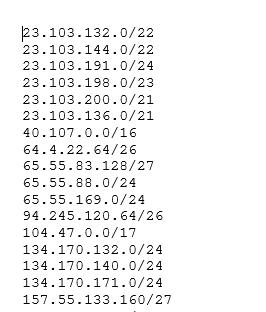
Into this:
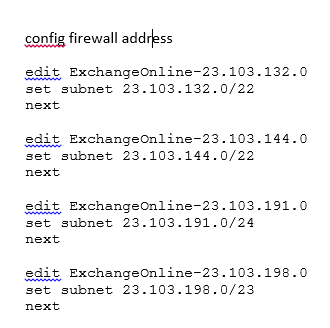
edit ExchangeOnline-23.103.132.0
set subnet 23.103.132.0/22
next
Simply copy and paste into SSH, upload script, etc. and you’re sorted!
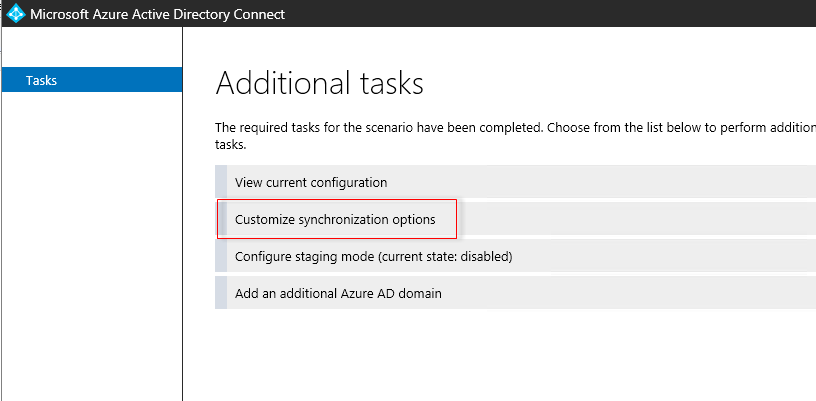
Unable to change initial Pilot/Test Group Azure AD Connect
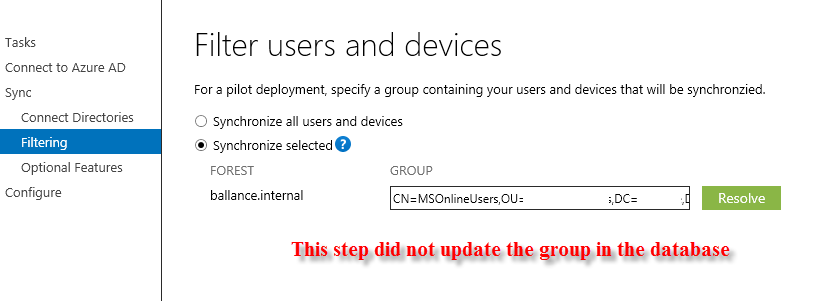
Recently, while installing and configuring the new Azure AD Connect Tool for a customer, we configured group filtering for an initial Pilot Group of users. After initial testing, the decision was made to expand this to another, more permanent group of users. While it appeared we could re-run the setup wizard, which gave us the option to change the pilot group, it would never actually update the database to reflect the changes.
Thankfully, with the assistance of a colleague we were able to track down the table/field within the LocalDB and change the entry for the group.
NOTE: Please proceed with this at your own risk – I’m quite certain this wouldn’t be a supported method from Microsoft, however it worked for us until this bug is resolved in the Azure AD Connect tool.
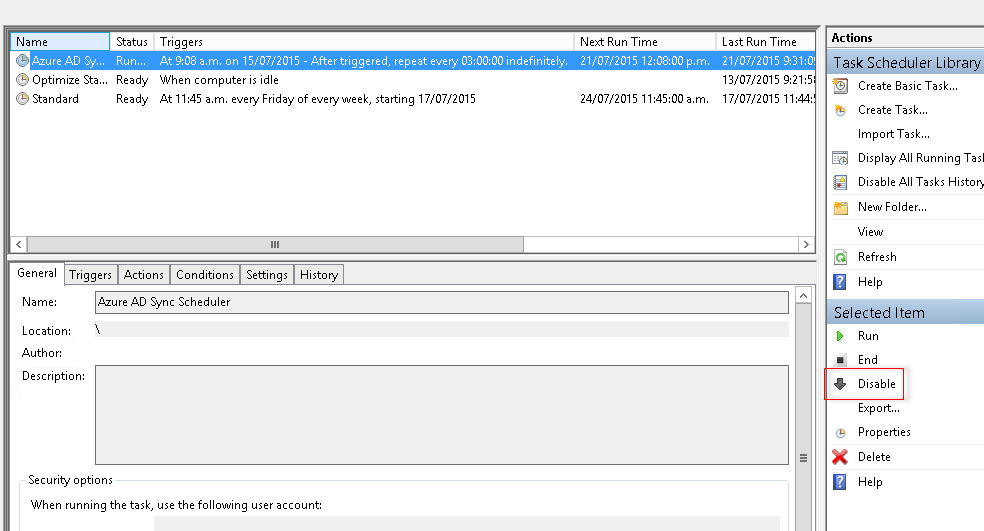
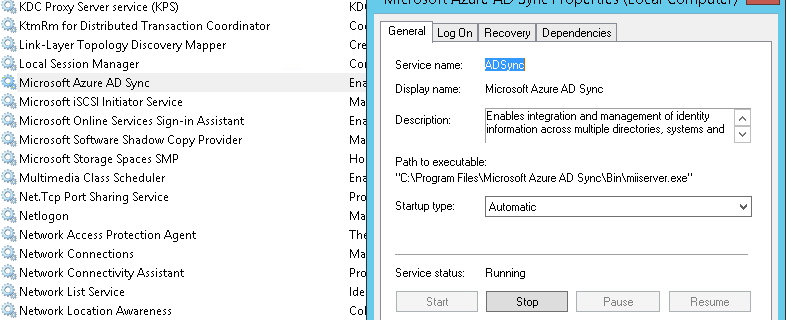
First disable the Schedule Task and Azure AD Sync Service.
Using SQL Management Studio, connect to the LocalDB Instance with a logged on user/run-as user who is a member of the local ADSyncAdmins group.
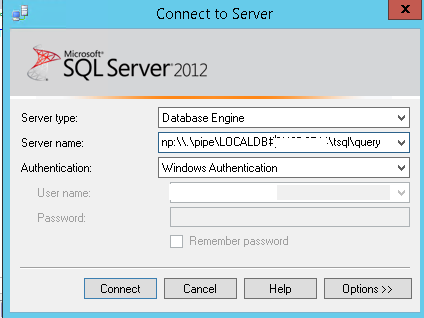
The database instance information can be found here:
HKEY_LOCAL_MACHINE\SOFTWARE\Microsoft\Microsoft SQL Server Local DB\Shared Instances\ADSync
![]()
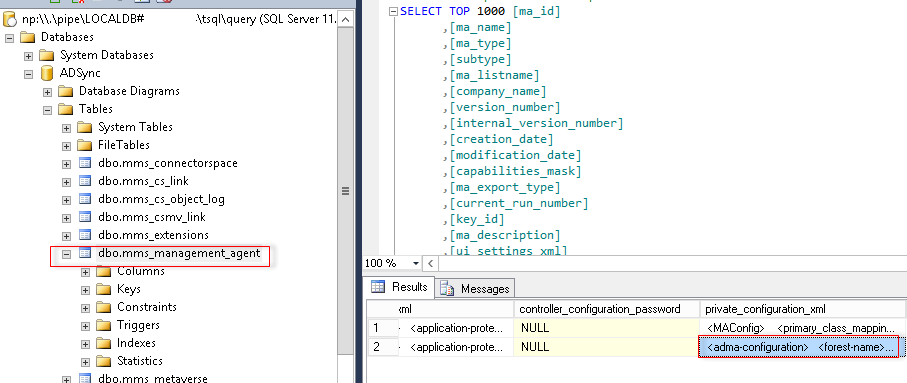
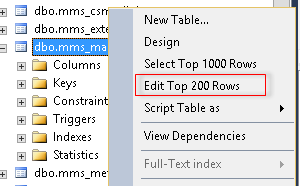
From there, right click on the Table “dbo.mms_management_agent” and select “Edit Top 200 Rows”. The data is stored under the second row column “private_configuration_xml”.
Expand out the field to find the parameter <parameter name=”Connector.GroupFilteringGroupDn” type=”string” use=”global” dataType=”String”>CN=MSONLINEUSERS,OU=YOURGROUPOU,DC=YOURDOMAIN,DC=YOURDOMAINEXTENSION</parameter>
![]()
From here, I’d recommend taking a copy of that entire field/XML first in case you need to reference it pre-changes.
Simply replace MSONLINEUSERS with your group name and the remaining AD path for your specific group.
Restart the Azure AD Connect Service and re-enable/re-run the sync to have the new group sync. You may need to run a full sync for all of the changes to appear. This can be done by running the following command: C:\Program Files\Microsoft Azure AD Sync\Bin\DirectorySyncClientCmd.exe initial
Hope it helps!
ADFS/Office 365 SSO 80041034 Error
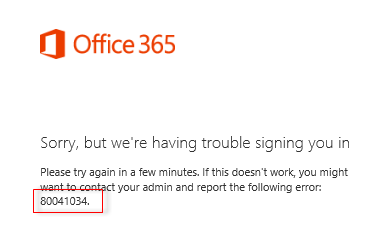
Recently after configuring Active Directory Federated Services for a customer for Azure AD Premium/Office 365, we received the following error while testing user login to https://portal.office.com:
Sorry, but we’re having trouble signing you in.
Please try again in a few minutes. If this doesn’t work, you might want to contact your admin and report the following error: 80041034
The obligatory Google search showed potential fixes relating to cached ADFS entries for users post-UPN changes (which we had done as a prereq. for MS Online Services). We ran the LsaLookupCacheMaxSize fix here: https://support.microsoft.com/en-us/kb/2535191. This did not resolve the issue. The other suggestions found online were to convert the MSOL Domain from Federated to Standard and back again. While I’m sure this would have helped, the easier option was to remove the Relying Party trust from ADFS:
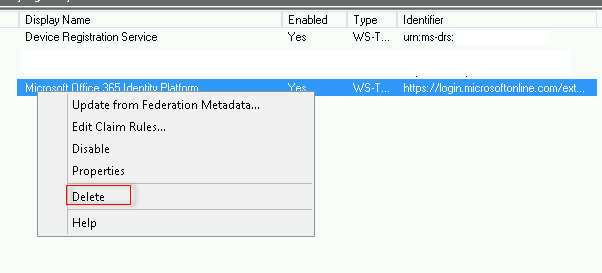
Followed by running the Update-MsolFederatioDomain -DomainName ourexternaldomain.co.nz
![]()
This then placed an updated/correct copy of the Relying Party trust into our ADFS server which resolved the issues!
Guest Blog: Archiving Mailbox for exiting employees – Office 365
So the basic idea behind this is to permanently hold onto a users mailbox if they have left the company and we may need to review their mail at another time.
There is a requirement for the user to have an Archiving License with In-Place Hold assigned to his mailbox. At the stage of writing this, E3 is the only license available with the In-Place hold.
My client only has E1 licenses applied to their mailboxes
To work around this I have had my client agree to purchase a Single E3 License which we can move around to the mailbox we need to Archive
First of all go into Exchange Admin Center & select Compliance Management
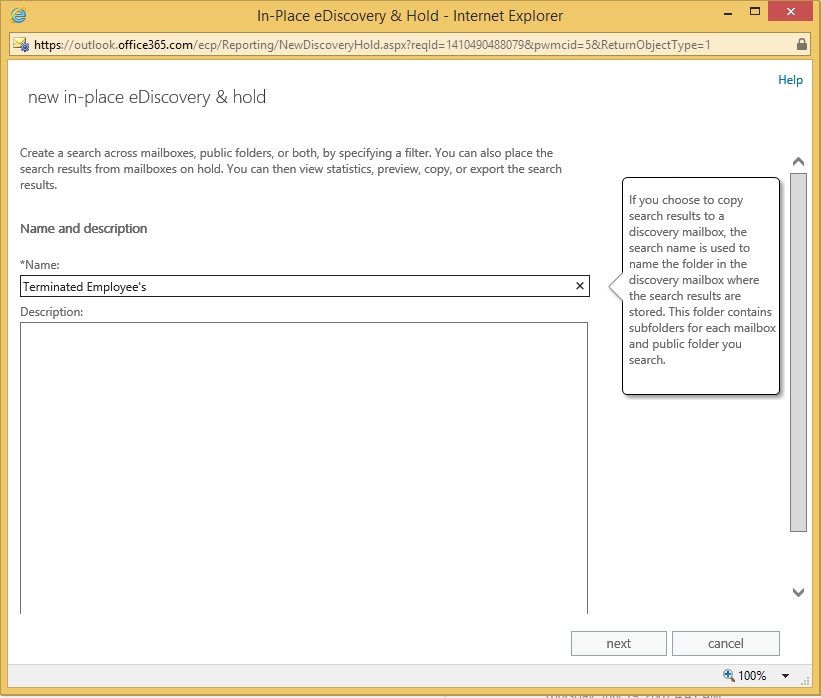
Select the Plus button to Add a new in-place e-discovery & hold policy
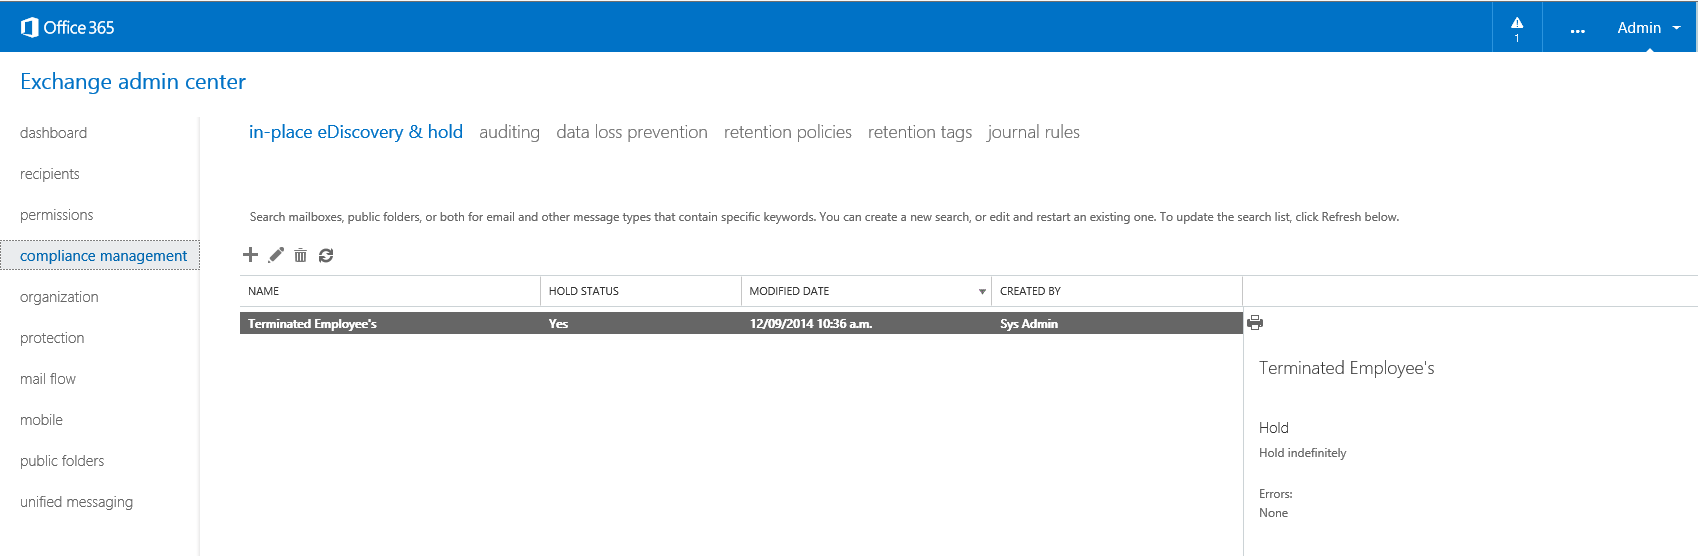
Add a name as required. I have labelled mine Terminated Employee’s
Select Add and find the Mailbox you would like to Archive. Ensure the E3 License is applied
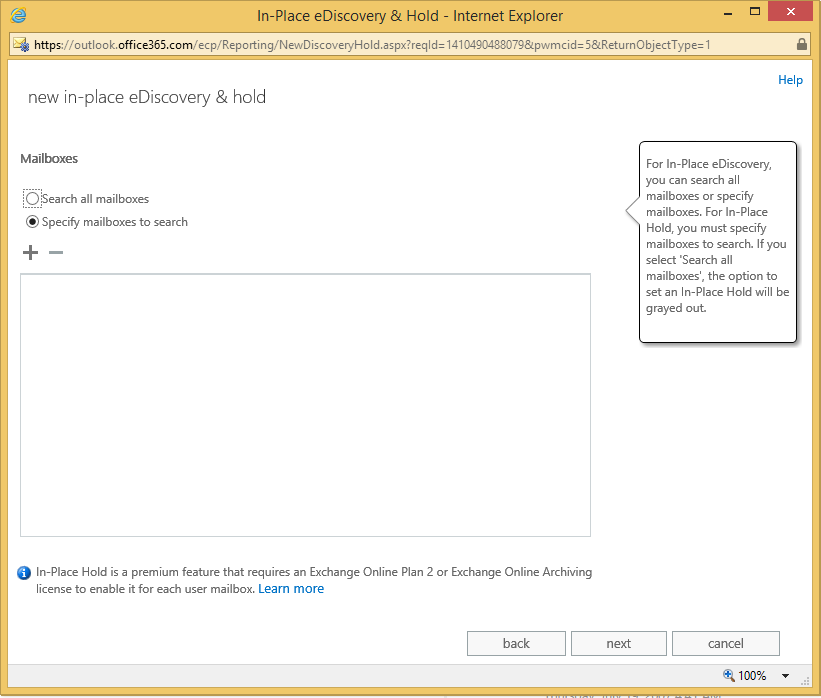
The Search query we ignore
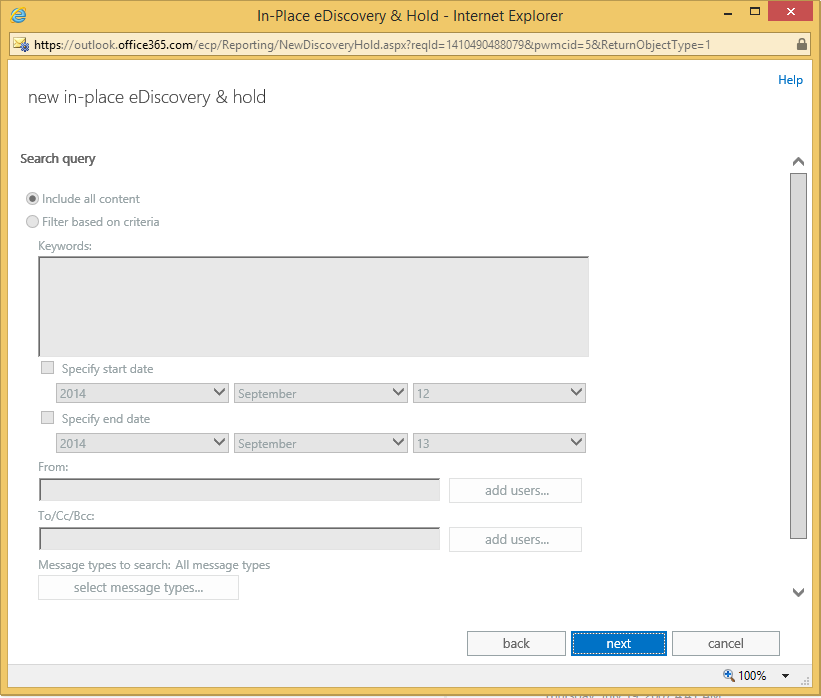
Select the box to Place content matching the search query
and ensure Hold indefinitely

Select Finish
Now feel free to remove the mailbox
Full mailbox permission Office 365
I have recently been utilizing MigrationWiz https://www.migrationwiz.com/ for some of my Office 365 migrations. The easiest way to do this is my utilizing an admin account – both on your Exchange on-premise or 3rd party hosted solution & on Office 365. In order to this, simply connect via Powershell and ran the following commands:
$LiveCred = Get-Credential
$Session = New-PSSession -ConfigurationName Microsoft.Exchange -ConnectionUri https://ps.outlook.com/powershell/ -Credential $LiveCred -Authentication Basic -AllowRedirection
Import-PSSession $Session
Get-Mailbox -ResultSize Unlimited | Add-MailboxPermission -AccessRights FullAccess -Automapping $false -User exchangemailbox@thatwillhavefullaccess.com
