SharePoint slow to load after server restart
We have recently deployed a SharePoint 2013 Enterprise rollout for a customer. After a period of inactivity, server restart or IISRESET the first time the various sites were browsed there was a noticeable (10sec+) lag in displaying the page. After some research it appears that this is a common SharePoint/IIS issue due to IIS Applications recycling their worker processes. The work around for this is a warmup script which will navigate to the various pages and “warm them up.” This can be used either by a) Simply running the script (remembering to run Set-ExecutionPolicy first) or b) By running SPBestWarmUp.ps1 -install which will install it as a scheduled task to run every hour.
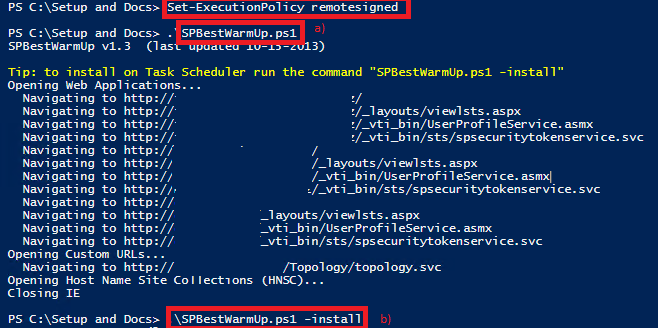
Here’s a link to the script: https://spbestwarmup.codeplex.com/
RichCopy – Advanced File Copy Utility
We recently had a customer with a nasty piece of malware that corrupted all of their .xlsx & .docx files. Apparently a new piece of “ransomware” Win32/Crilock.A and Win32/Buma!rts that are floating around at the moment. They utilized ShadowProtect for their image backups which was great as we were able to recover their data to just prior to the infection. The difficulty with this is that their docx & xlsx files were spread through 100’s of folders and simply restoring the volume wouldn’t work as we needed to filter by file extension. Thankfully there is a great tool (formally an internal tool) from Microsoft which is an extremely feature-rich copy utility & best of all, free! RichCopy at first glance appears to be a decent file copy program like RoboCopy, TeraCopy, etc.
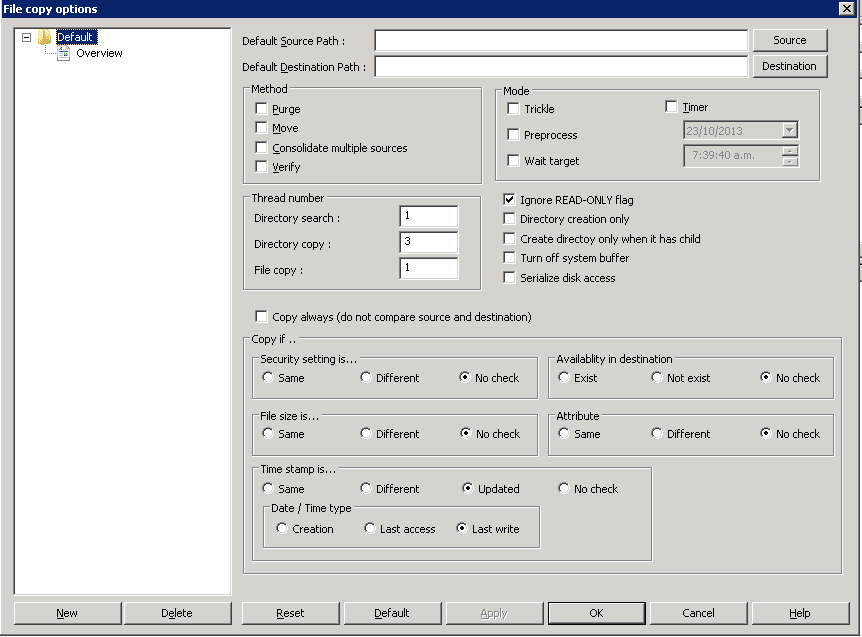
The real magic begins once you enable the “Advanced” functionality under the “View” menu:

From here you see a ton more features available under the Options screen:
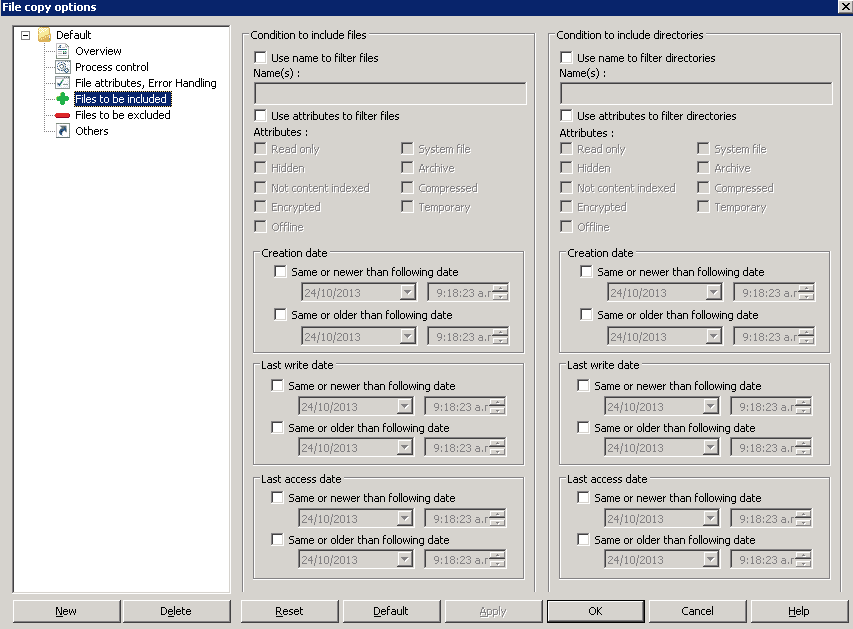
These include allow you to filter by file type, set throttling for transfer, change file attributes, adjust security information, issues commands, etc.
Disable WSUS Updates on SBS Server
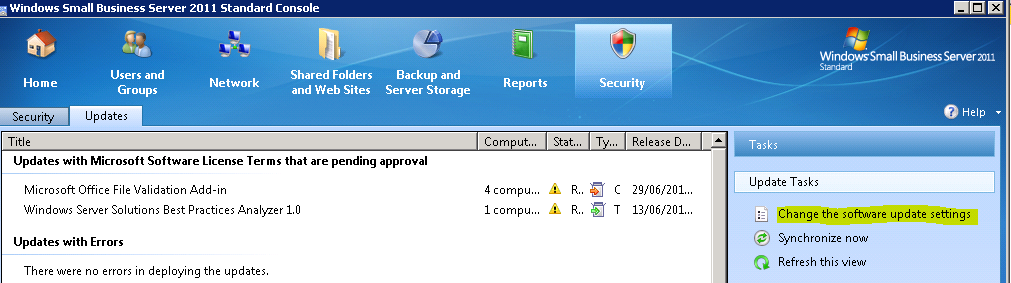
We have already have a patching solution in place for our SLA customers. Because of this we do not have a need to utilize WSUS and having 30+GB tied up on highspeed SAS disks, simply does not make any sense. Additionally from most things I have read, uninstalling WSUS is not recommended for SBS Server. The easiest way to reclaim the disk space & still allow SBS Monitoring to audit your patches is to simply turn off approval for Server Updates and run the clean up wizard. This can be done from the SBS Console “Security” tab
Select Change the software update settings:
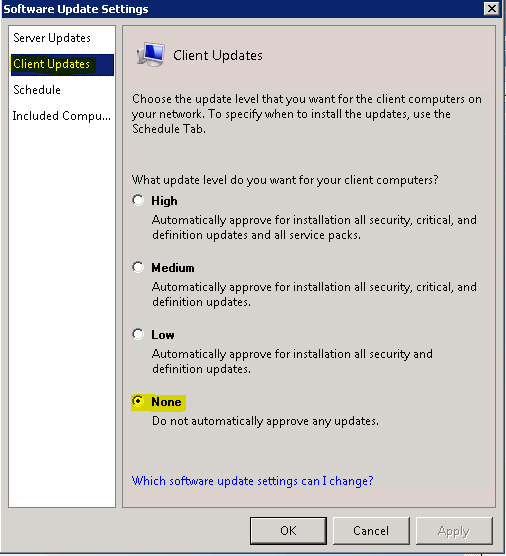
Set both Server Updates & Client Updates to “None”

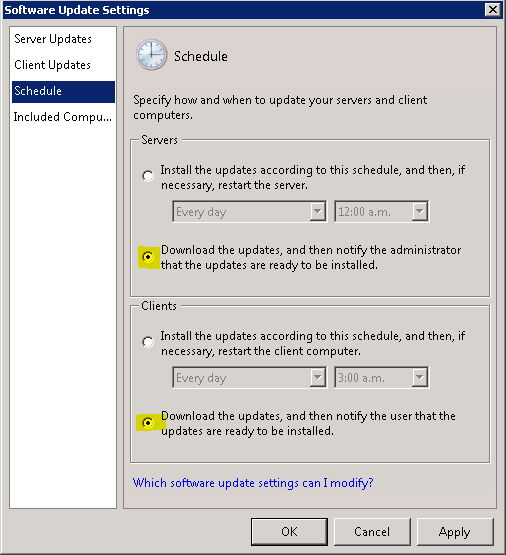
Set your schedule:
Next run Windows Server Update Services from Administrative Tools:
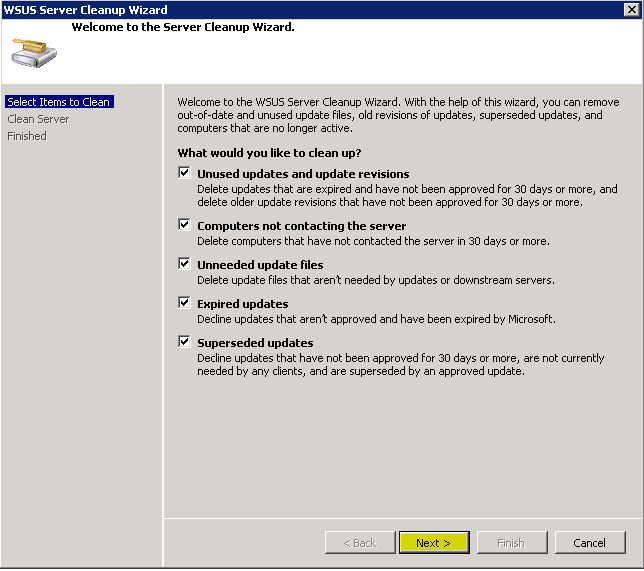
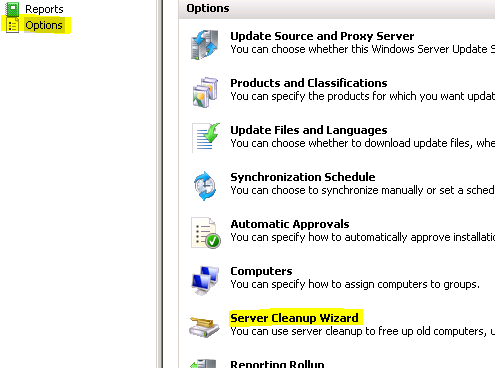
Select “Server Cleanup Wizard” and select Next, wait for Cleanup to run(can take some time) and click Finish one completed
Full mailbox permission Office 365
I have recently been utilizing MigrationWiz https://www.migrationwiz.com/ for some of my Office 365 migrations. The easiest way to do this is my utilizing an admin account – both on your Exchange on-premise or 3rd party hosted solution & on Office 365. In order to this, simply connect via Powershell and ran the following commands:
$LiveCred = Get-Credential
$Session = New-PSSession -ConfigurationName Microsoft.Exchange -ConnectionUri https://ps.outlook.com/powershell/ -Credential $LiveCred -Authentication Basic -AllowRedirection
Import-PSSession $Session
Get-Mailbox -ResultSize Unlimited | Add-MailboxPermission -AccessRights FullAccess -Automapping $false -User exchangemailbox@thatwillhavefullaccess.com

Windows 8.1 Upgrade
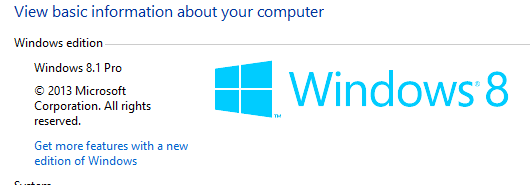
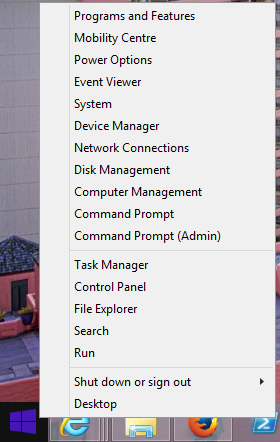
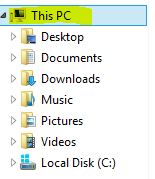
Windows 8.1 update was just released at 12am this morning. Went ahead and gave it an update on my work laptop (Friday afternoon @ 3pm – what else do you REALLY want to do?)… Less than 30min for the entire update and overall a smooth transition. First impressions, it appears to be quite responsive. Only caveat to this would be the new expanded (includes web results) search function from the Start Screen when searching for local files but I’m not convinced it is not an initial delay due to some initial indexing – I’ll wait to reserve judgement. Little changes apparent so far, icon colours have changed of the Start screen, “Computer” is “This PC” in Explorer & I like the added right-click function menus on the new Start/Windows button. The only issue I have noted so far was that my Displaylink DVI USB device for my 3rd screen required a driver update to function. As much I rolled my eyes at all the user (and co-worker) complaints over the last of start menu in Windows 8, I have to say it is nice having a Start/Windows button back again. I’ll continue to update as more functionality becomes apparent!