Mass import PSTs into Exchange Database/Archive Database
We’ve had a client recently implement Exchange 2010 email archiving due their users utilizing PSTs for archiving. After creating the archive database and specifying the users who would be utilizing it – the next problem was importing the massive list of PST files into their Archive DB without having to work with every user to import it. While you can utilize PowerShell to import PSTs into Exchange, because there was zero uniformity to their PST file names it would have been just as easy to work with every user… Thankfully Microsoft has a really handy utility that takes the pain out of it and best of all it is free! It can be downloaded here: http://www.microsoft.com/en-nz/download/details.aspx?id=36789
It allows you to map discovered PSTs to the users mailbox or archive database – it also allows you to migrate into Office 365/Exchange Online. Couple of pre-reqs for installing on your management sytem: .NET 4.5, Powershell 3, NOTE: If you receive an error when installing on Server 2012/2012R2, click here for a workaround. Outlook x64 (if running from a 64 bit system) & an Admin account with that can read AD and modify Exchange mailboxes. There are two components: PSTCapture.msi – this will go on your management system & PSTCaptureAgent.msi (or _x86) that will be rolled out to the workstations/servers hosting the PST Files
If your servers/workstations are running Windows Firewall, you will need to create an exclusion locally or a apply the exclusion via a GPO (ideally) for: “C:\Program Files\Microsoft\Exchange\PSTCaptureAgent\Microsoft.Exchange.PSTCapture.DiscoveryAgent.exe”
This exe runs as the service: Microsoft Exchange PST Capture Agent Service.
![]()
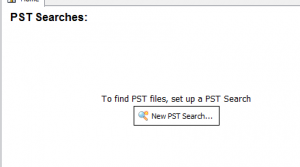
Once both components are installed simply create a “New PST Search” to go hunting for PSTs.
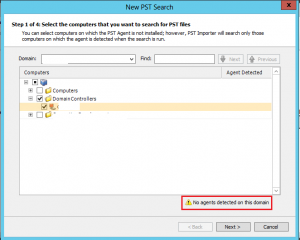
On the next screen you will see a list of your AD PCs & Servers. If you see the following here, I’d double check your firewall settings on both the server & agent, re-installing the agent if required.
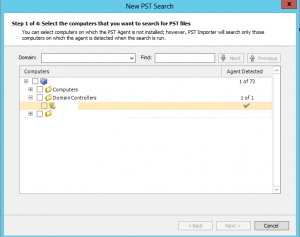
You should have a check box available next to any systems that have the agent running:
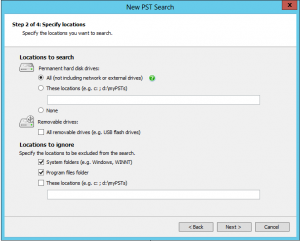
Select your include/exclude options, then next & next & finish.
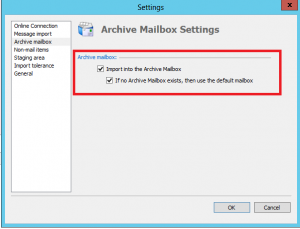
The other required option was the “Import into the Archive Mailbox” option under Settings if you are utilizing Exchange 2010+ Archiving:
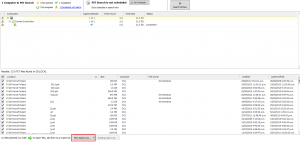
On the next screen, select “Search All Now” to begin the search for PSTs. Note: If clicking on the button doesn’t do anything, it is most likely due to the remote agents not communicating.

After the scan is complete, select your mailboxes New Import List and “On-Premise” (or online if migrating to O365).
On the next screen, specify the mailboxes each PST will be imported in to. You can select several and change mailbox at once if required. Then simply select “Imported Selected Files Now” when ready.
NOTE: If you receive the error: “Import error: Error opening mailbox” when processing, it could be do to a) Make sure your are using an account that has full mailbox access or b) You are running x64 Outlook if on an x64 system.

Trackbacks / Pingbacks