
Remove assigned user from Service Manager Incident or Service Request with Orchestrator
I was recently given a customer request to remove the assigned user on an Incident or Service Request (in order to place it back into the unassigned job queue) in SCSM 2012 R2 when their external support returned their Service Manager job back to them via e-mail. As the external vendor was utilizing their own ticketing system, all of this transfer was occurring via email communication and the Exchange Connector for SCSM. Standard Exchange connector keywords were being utilized (ie. [Resolved], [Completed]), etc. but to remove via any non-standard keyword we needed to use Orchestrator and the SC 2012 Service Manager Integration Pack.
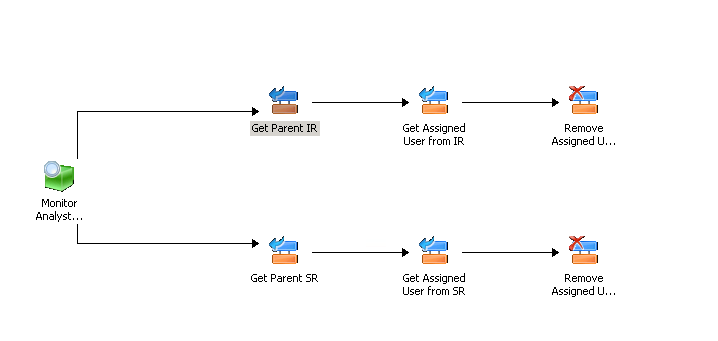
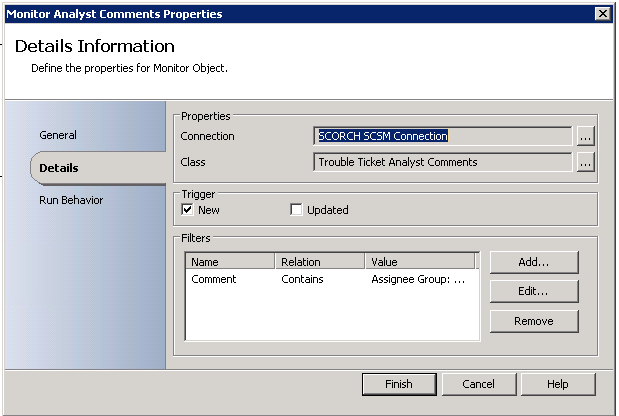
First step (Monitor Analyst Comments) was to create a monitor task for new Trouble Ticket Analyst Comments, with a filter for specific Keyword – in this case: “Assignee Group: Internal IT Department”
Next step (Get Parent IR) was to create an SCSM Relationship between the Trouble Ticket Analyst Comments and the Parent Incident

Next we Get the Relationship between the parent incident and the Active Directory User (Get Assigned User from IR)

Finally (Remove Assigned User Relationship from IR) we remove the relationship for the AD User from the Incident, which places the job back as unassigned

Simply repeat the steps above for Service Requests, changing the class where appropriate from Incident to Service Request.
Now whenever the Analyst Comments are added that contain the words “Assignee Group: Internal IT Department” to an Incident or Service Request, either via comment or e-mail the assigned to user is removed. Done!
There was an error connecting to VMware vSphere Update Manager – [x.x.x.x:443]
After opening up vCenter you may experience the following message:
There was an error connecting to VMware vSphere Update Manager – [x.x.x.x:443]. The request failed because of a connection failure. (Unable to connect to the remote server)
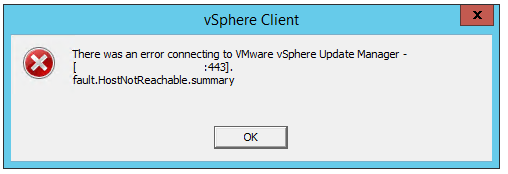

This could occur because you have changed the vCenter IP address, or in my case had re-configured NIC Teaming on the Management Server which momentarily changed the IP address of the Management Server.
Thankfully there is an easy fix:
Log in to the machine on which the Update Manager server component is installed.
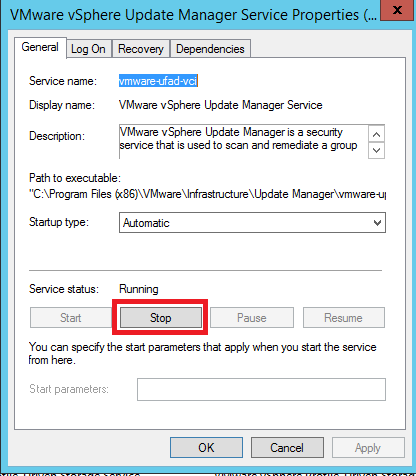
Stop the Update Manager service: Click Start > Run, type services.msc, then click OK to open Services. Right-click the VMware Update Manager service and click Stop.
In Windows Explorer, navigate to the Update Manager installation folder. The default path is:
32-bit Windows: C:\Program Files\VMware\Infrastructure\Update Manager
64-bit Windows: C:\Program Files (x86)\VMware\Infrastructure\Update Manager
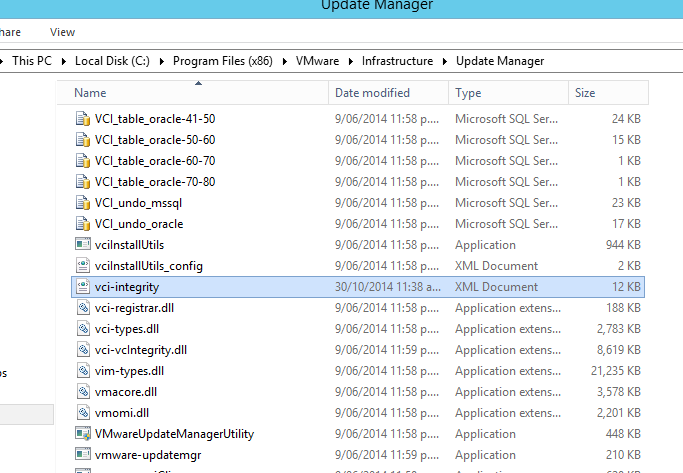
Open vci-integrity.xml in a text editor, and find this XML tag:
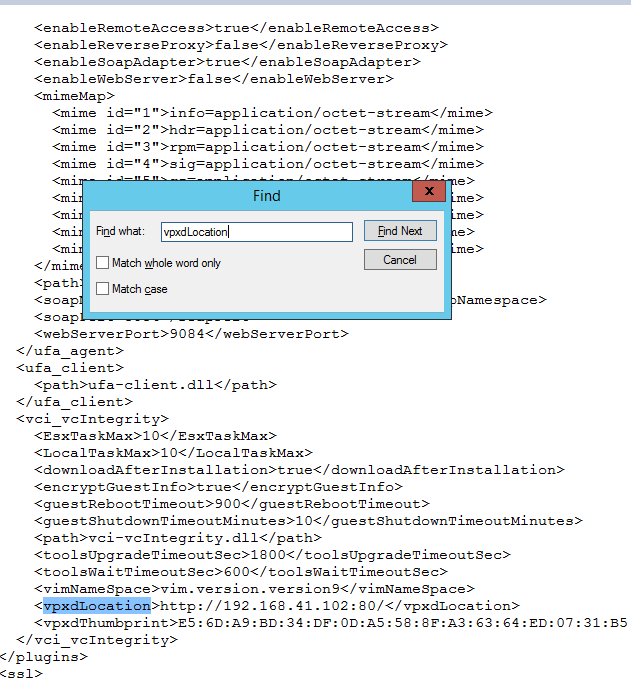
<vpxdLocation>old_vCenter_Server_IP_address</ vpxdLocation>
Replace the old vCenter Server IP address value with the new one.
Save and close the file.
Start the Update Manager service:
Click Start > Run, type services.msc, then click OK to open Services.
Right-click the VMware Update Manager service and click Start.
Source: http://kb.vmware.com/selfservice/microsites/search.do?language=en_US&cmd=displayKC&externalId=1014639
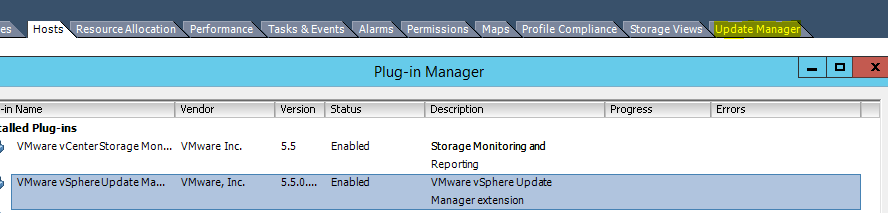
In the vSphere Client, Select Plugins/Manage Plugins. Right-click and Enable the VMware vSphere Update Manager

You’ll now notice the Update Manager tab re-appears!
Upgrade HP iLO via SSH
I recently had a situation where an HP Proliant server’s ILO web interface would not load. Assuming a potential firmware bug, I decided to update the firmware – usually done through the web console. Thankfully, it is an easy process.
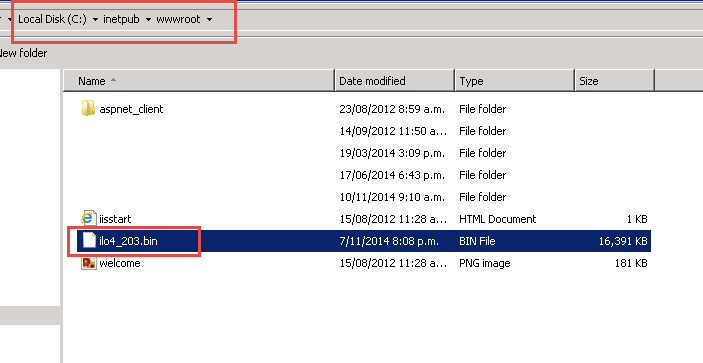
1.) Download the iLO firmware(a .bin file) from HP’s site for your specific Proliant Generation and place it on an available web server(IIS, etc.).
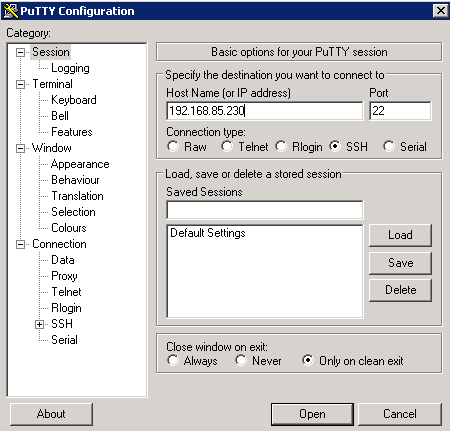
2.) Login to your iLO via SSH (Using Putty, etc.)
3.) Change directory to /map1/firmware
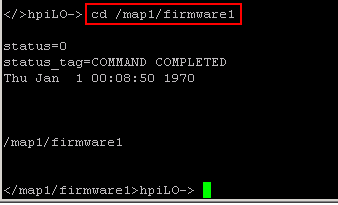
4.) Type: “load -source http://yourwebserverip/ilofirmwarename.bin”

NOTE: Ensure there are no spaces at the end of your or you will get a Syntax error.
Wait for 30-45sec for iLO to update and restart and you should be all back up and running.
Merging a Hyper-V child VHD/VHDX differencing disks with the parent VHD/VHDX.
I’ve recently had a requirement to merge some child differencing disks, with the associated VHD/VHDX in Hyper-V.
Thankfully this is very straight forward and can be done one of two ways(after a confirmed backup and/or export of your VM!):
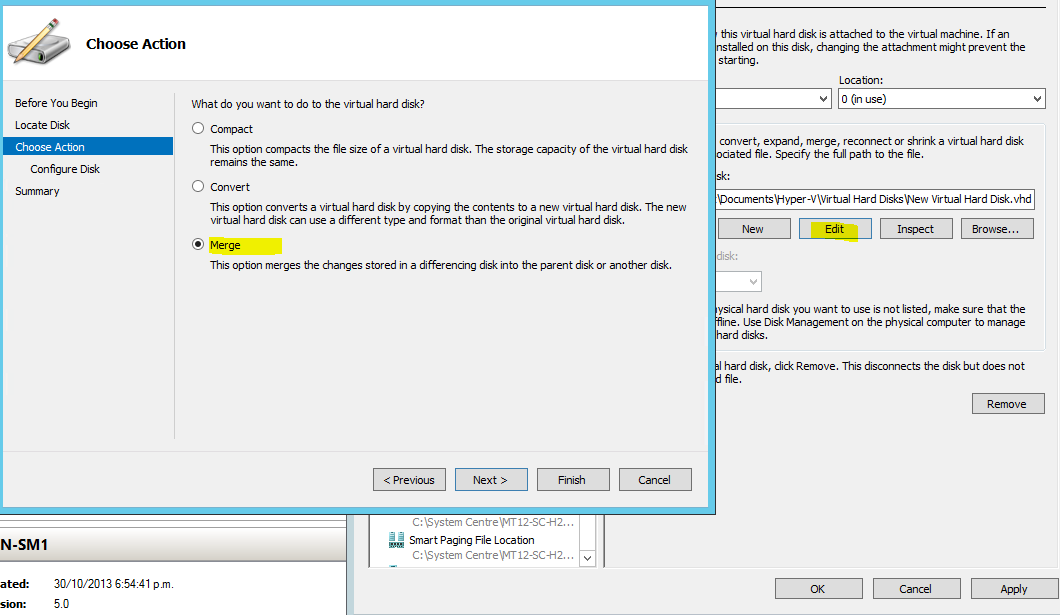
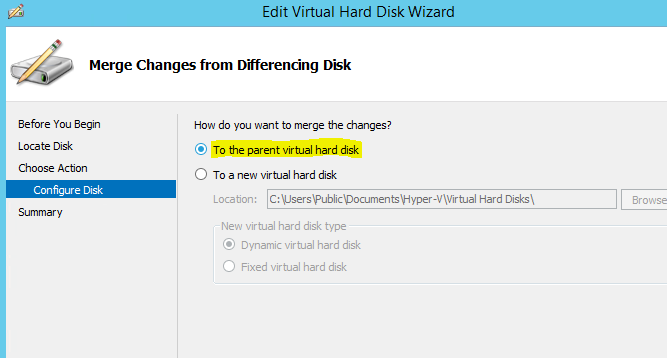
1.) Using the edit disk option in Hyper-V:
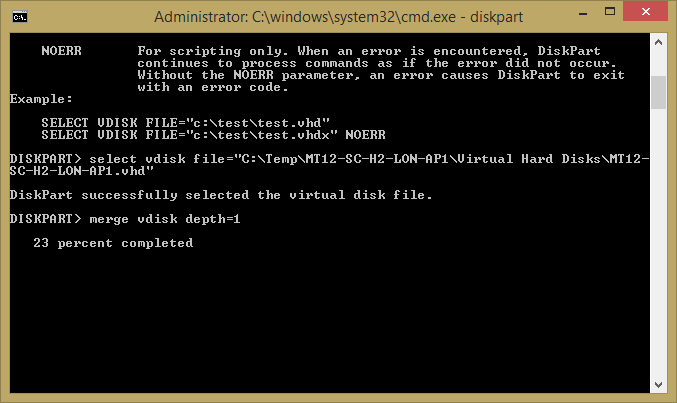
2.) Using DiskPart from a command prompt.
Enter Diskpart.
select vidsk file=”C:\Temp\MT12-SC-H2-LON-AP1\Virtual Hard Disks\MT12-SC-H2-LON-AP1.vhd”
merge vdisk depth=1
Remember in either option, you will need to go back into your VHD location in the Hyper-V VM settings and change the path to point to the base disk.
Note: If you go with Option 2, you will need to manually remove the child differencing disk from your VHD storage location.
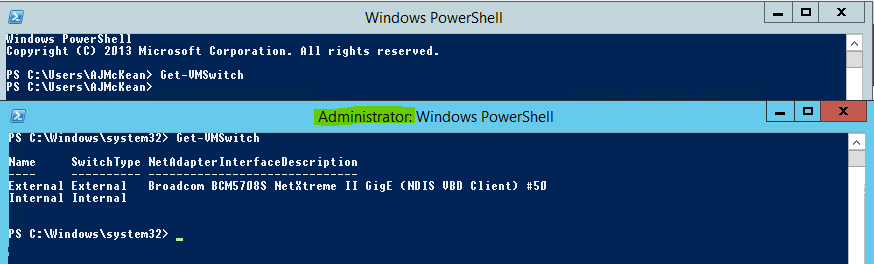
Powershell: get-vmswitch, get-vm, etc. blank
Recently when running a get-vmswitch PowerShell command on a Hyper-V host I noticed that the content came back blank. Even though I was a local admin on the host, I still needed to run my PowerShell session as an Administrator. Doh! If you notice you are not getting results, might pay to give it a go. 🙂
Guest Blog: Archiving Mailbox for exiting employees – Office 365
So the basic idea behind this is to permanently hold onto a users mailbox if they have left the company and we may need to review their mail at another time.
There is a requirement for the user to have an Archiving License with In-Place Hold assigned to his mailbox. At the stage of writing this, E3 is the only license available with the In-Place hold.
My client only has E1 licenses applied to their mailboxes
To work around this I have had my client agree to purchase a Single E3 License which we can move around to the mailbox we need to Archive
First of all go into Exchange Admin Center & select Compliance Management
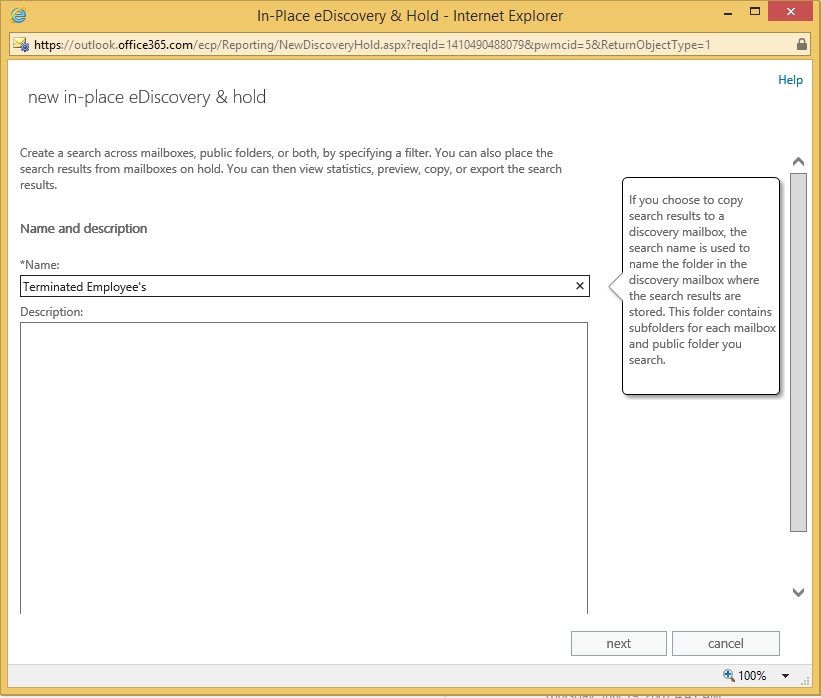
Select the Plus button to Add a new in-place e-discovery & hold policy
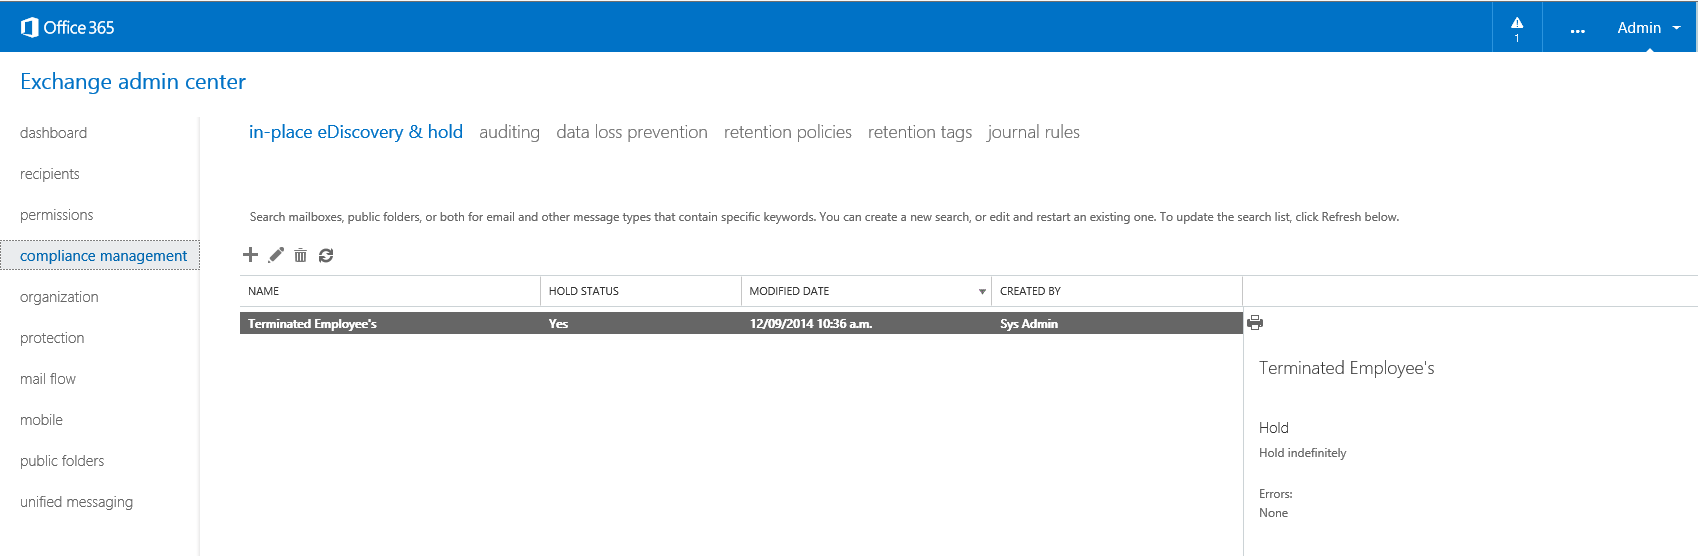
Add a name as required. I have labelled mine Terminated Employee’s
Select Add and find the Mailbox you would like to Archive. Ensure the E3 License is applied
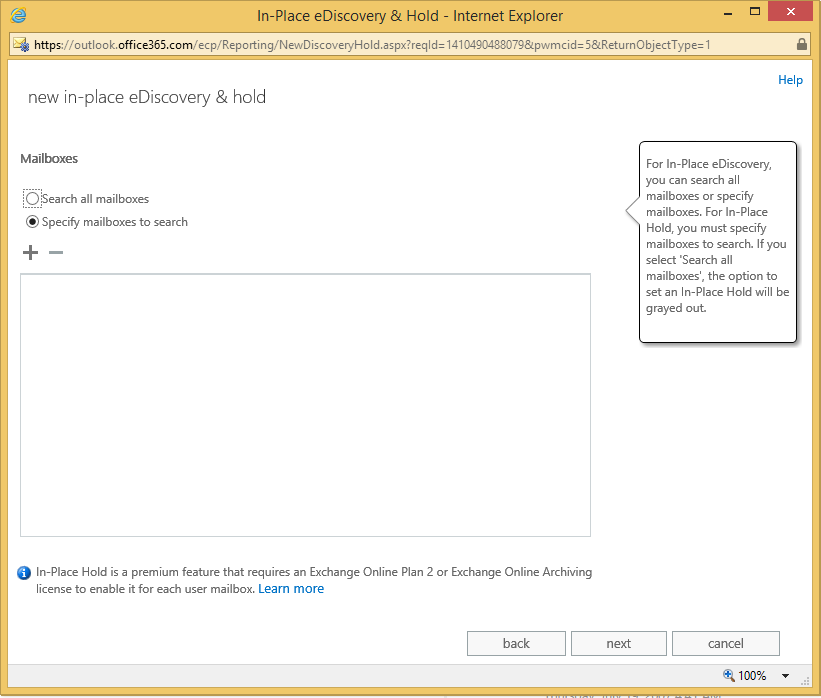
The Search query we ignore
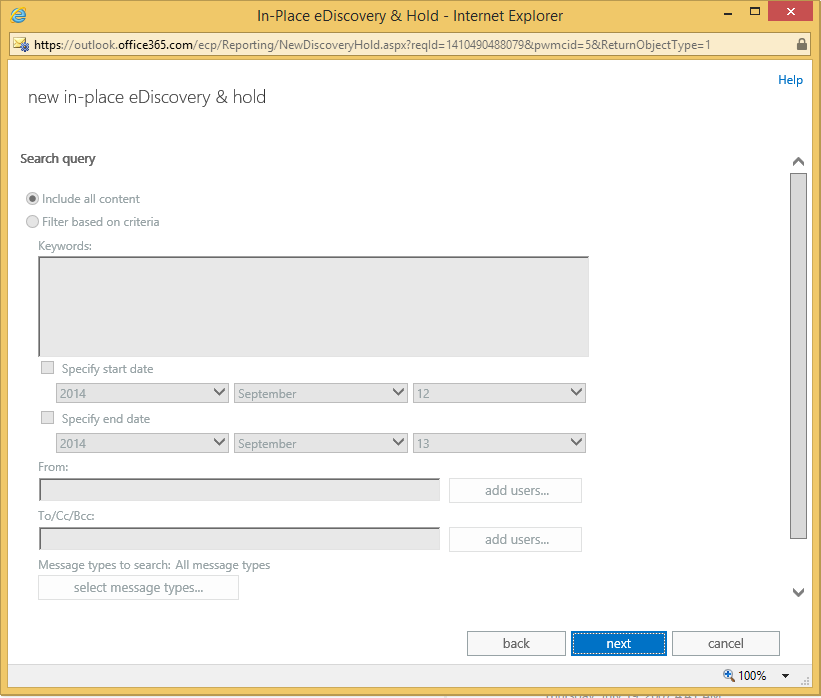
Select the box to Place content matching the search query
and ensure Hold indefinitely

Select Finish
Now feel free to remove the mailbox
PowerShell 3.0 requirement in order to install Exchange PST Capture
When installing Microsoft Exchange PST Capture on Server 2012/2012R2 you may receive the following message:
“You must have Windows PowerShell 3.0 installed in order to install this product”
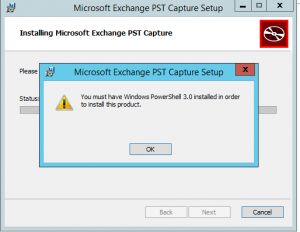
As Server 2012/2012R2 already comes bundled with PowerShell 4, we know this isn’t a requirement but the software doesn’t… Thankfully there is an easy work around. Download and install SuperOrca. Open the MSI and drop the row requiring PowerShell 3.
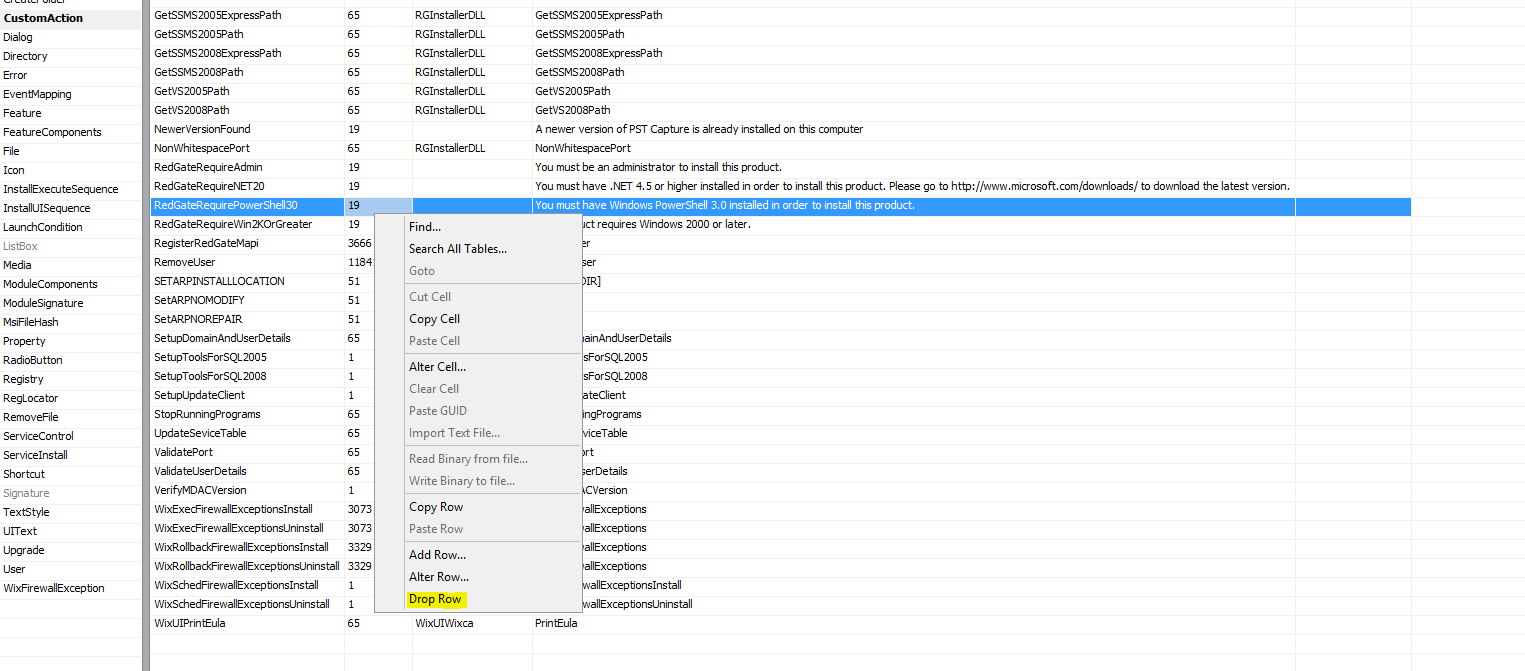
Easy as that!
Remotely set DNS Primary and Secondary Servers via PowerShell
Create a text file with a list of server names that you would like to change Primary & Secondary DNS for:

#PowerShell Script:
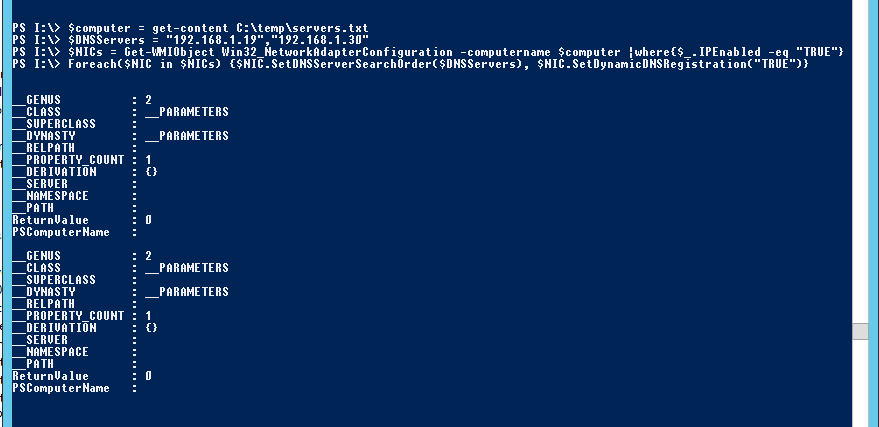
$computer = get-content C:\temp\servers.txt
$DNSServers = “192.168.1.19”,”192.168.1.30″
$NICs = Get-WMIObject Win32_NetworkAdapterConfiguration -computername $computer |where{$_.IPEnabled -eq “TRUE”}
Foreach($NIC in $NICs) {$NIC.SetDNSServerSearchOrder($DNSServers), $NIC.SetDynamicDNSRegistration(“TRUE”)}
Remove “Unknown” computer from System Center Configuration 2012 R2 Manager PowerShell
Recently while testing out some task sequences with non-domain systems, I ended up with a bunch of “Unknown” computers in the Devices list in SCCM. While I could filter this and remove it easily from the console, I wanted to set a task sequence to continually run through process while testing.
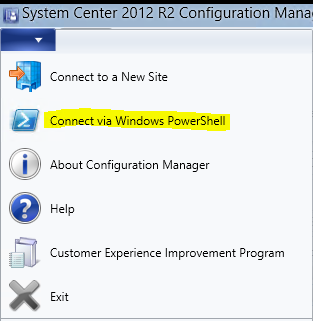
First, open PowerShell from Configuration Manager (to easily load the SCCM PowerShell Modules)
#Define your 3 character site code with this variable, in my example “ABC.” I have defined the Site Code as I didn’t want the inherent x64 & x86 Unknown Computer Devices to be filtered from my results. You could replace Unknown with another computer name, import a list via CSV, etc.
$sitecode = “ABC”
$devicename = “Unknown”
Get-CMDevice | Where-Object { ($_.SiteCode -ne $sitecode) -and ($_.Name -eq $devicename) } | Remove-CMDevice -force -confirm:$false

Note: Please do this at your own risk – I’d suggest lab testing this first. 😉
Manually Remove Incidents, Service Requests, etc. from Service Manager 2012/2012 R2
With System Center Service Manager 2012/2012 R2, you may find you need to delete various Incident Requests, Service Requests before waiting for them to prune out of the database. This could apply in a testing situation, when you are generating lots of test tickets, etc. (Or if you find you have a Operations Manager alert storm!). From PowerShell with the Service Manager module loaded, run the following commands:
![]()
#Remove IR from Database. Replace IRx with corresponding Incident Request number (ie. IR16, etc.)
Get-SCSMClassInstance -Class (Get-SCSMClass -Name System.WorkItem.Incident) | Where-Object {$_.ID -eq “IRx”} | Remove-SCSMClassInstance
or
#Remove SR from Database. Replace SRx with corresponding Service Request number (ie. SR16, etc.)
Get-SCSMClassInstance -Class (Get-SCSMClass -Name System.WorkItem.ServiceRequest) | Where-Object {$_.ID -eq “SRx”} | Remove-SCSMClassInstance
![]()
Refresh your SCSM Console and it should now be gone from the list.
